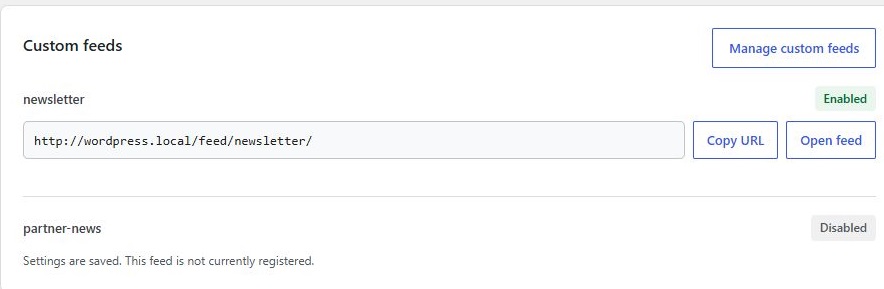
Use this checklist for an update from an older version. RSS Chimp 1.3.1 normalizes existing custom-feed settings, including the legacy single-feed format, while retaining valid slugs and disabled-feed states.
Before updating
- Back up your database and keep the previous plugin package.
- Check the requirements: WordPress 5.9+ and PHP 7.4+. Use a maintained PHP version appropriate for your WordPress installation.
- Record the exact feed URLs used by newsletters, readers and automation tools.
- Leave Reset all options on deactivation disabled so a temporary deactivation does not erase settings.
- Test the update on staging where possible.
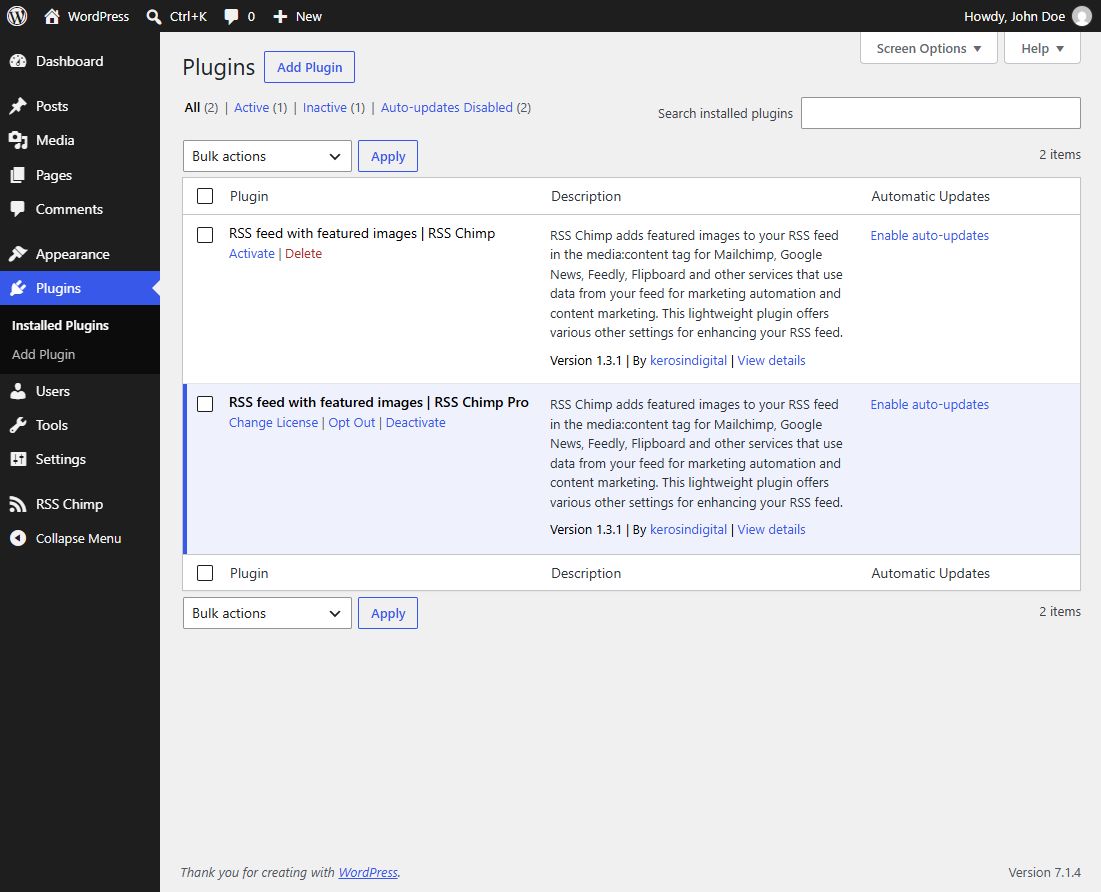
Install the correct package
Use the normal WordPress update channel or upload the correct Free/Pro package from its official source. Do not activate two separate RSS Chimp packages together. Do not reset the plugin as part of routine migration.
Check after updating
- Confirm the displayed version on RSS Chimp → Start.
- In Pro, inspect each migrated custom feed’s slug, status and settings. Invalid/reserved legacy names are retained for correction but disabled.
- Open every feed URL used externally. Check recent post titles, links and featured-image metadata.
- Check the cache card and any publication delay.
- Preview a newsletter or automation before resuming a production send.
If a custom URL fails
Confirm the feed is enabled and its slug is valid. Save its settings, then save Settings → Permalinks once if a 404 persists. Clear a cached 404 or old XML separately. For a disabled legacy feed, decide whether it should remain disabled rather than enabling it automatically.
Rollback
The migration retains a legacy-options backup internally, but RSS Chimp does not provide a one-click migration-restore screen. For a reliable rollback, restore the appropriate database backup together with the intended plugin package. Contact support before manually editing options.
Check custom feeds after the update