
RSS Chimp Free adds featured-image metadata to WordPress RSS2 feeds. Version 1.3.1 requires WordPress 5.9 or later and PHP 7.4 or later. Use a maintained PHP version supported by your WordPress installation on production sites.
Install from WordPress
- Open Plugins → Add New in your WordPress dashboard.
- Search for RSS Chimp and identify the plugin by kerosindigital.
- Click Install Now, then Activate.
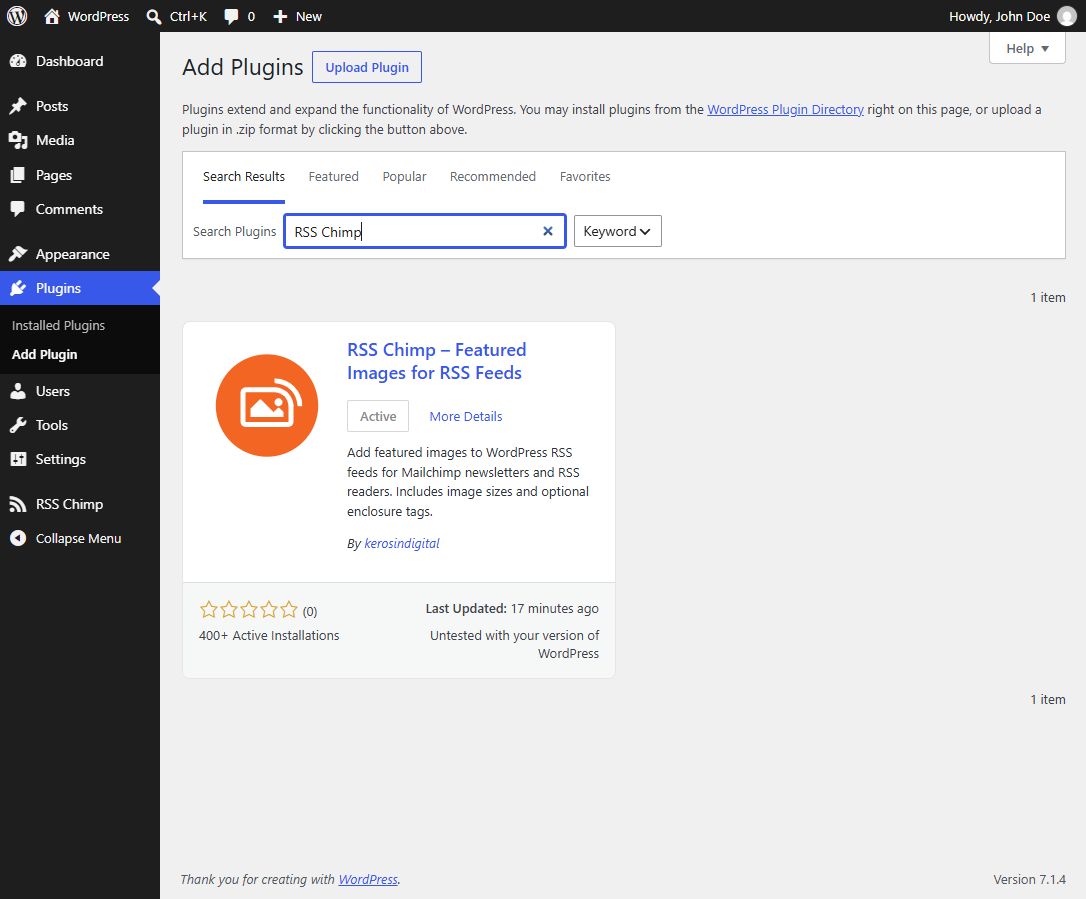
Alternative: upload a ZIP
Download the free package from WordPress.org. In Plugins → Add New → Upload Plugin, select the ZIP, install and activate it. If Pro is already active, do not install Free as a second active copy.
Registration and consent
The installed package may show an optional Freemius connection or registration screen. Read the options and consent text displayed there. Free feed features do not require a paid license. Where a skip option is offered, you can use it without enabling optional data sharing. Do not assume that every connection choice also subscribes you to a newsletter; use the actual consent labels on your screen.
Check your first feed
- Assign a featured image to a published post.
- Open RSS Chimp → Start and copy or open the default feed URL.
- Inspect the XML for
<media:contentin that post’s item. - Preview the feed in the reader or newsletter service you plan to use.
A browser may show raw XML rather than a designed page. If an image is missing, check the featured image and the receiving template before changing permalinks. Permalink refreshes are for routing failures such as a custom-feed 404.