
Pro feature. Custom feeds provide additional feed URLs with their own image and content settings. They use the site’s WordPress feed query; RSS Chimp 1.3.1 does not provide category, tag or post-selection controls for each row.
Create a custom feed
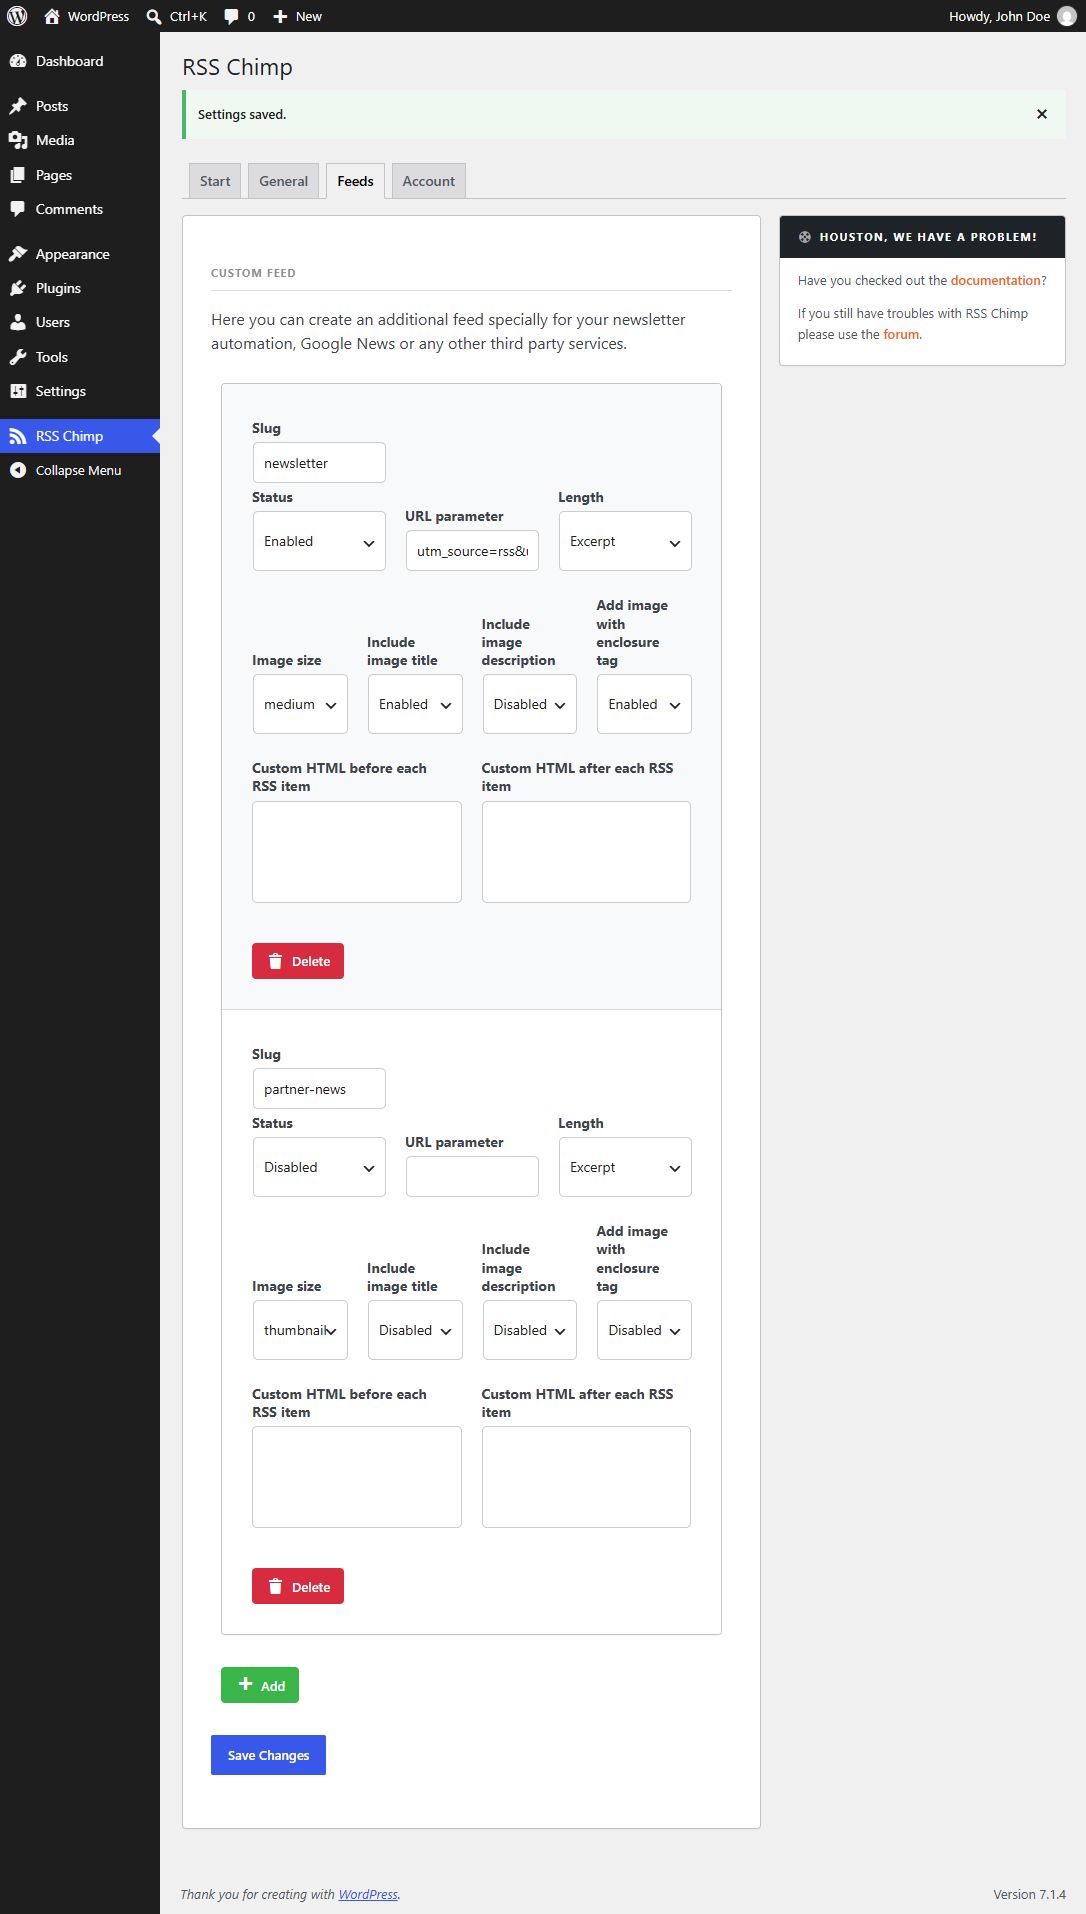
- Open RSS Chimp → Feeds.
- Enter a unique Slug, such as
newsletter. Enter the slug only, not a complete URL. - Set Status to Enabled.
- Choose image size, excerpt or full content, and any optional image metadata, HTML or URL parameters.
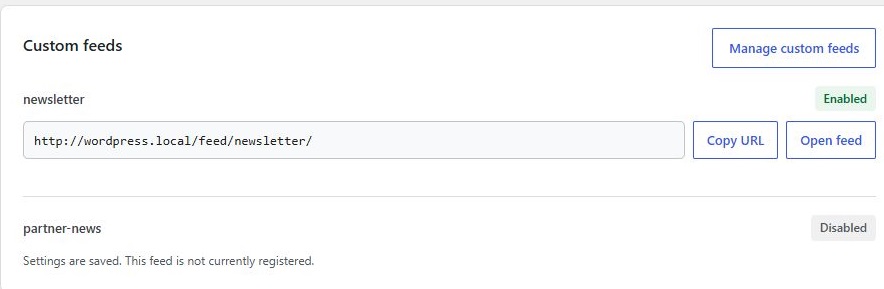
- Click Save Changes, then open the resulting URL from Start.
Slug rules
Use letters, numbers, hyphens or underscores and begin with a letter or number. Slugs must be unique. Reserved names include feed, rdf, rss, rss2, atom, comments and default_feed. Prefer simple lowercase names. Avoid changing a slug already used by an external service.
Add, disable or remove a feed
- Add: create another row, complete its settings and save.
- Disable: change its status to Disabled and save. Its settings remain stored, but the route is not registered by RSS Chimp.
- Delete: remove the row and save. The final remaining row can be reset to empty and saved to remove the last feed.
A disabled or removed slug might still be handled by another plugin or by a cached response. Always check the resulting URL rather than promising a particular status code.
Verify and connect
Use the dashboard links to test each enabled feed and validate its public XML. Update external subscriptions if a URL changes. Check 404s with the routing troubleshooting guide rather than repeatedly changing the site’s permalink structure.