
Use this guide after installing RSS Chimp Free or Pro. You need access to the WordPress administration area and a published post with a featured image. No newsletter connection is required to check the feed itself.
Prepare a post
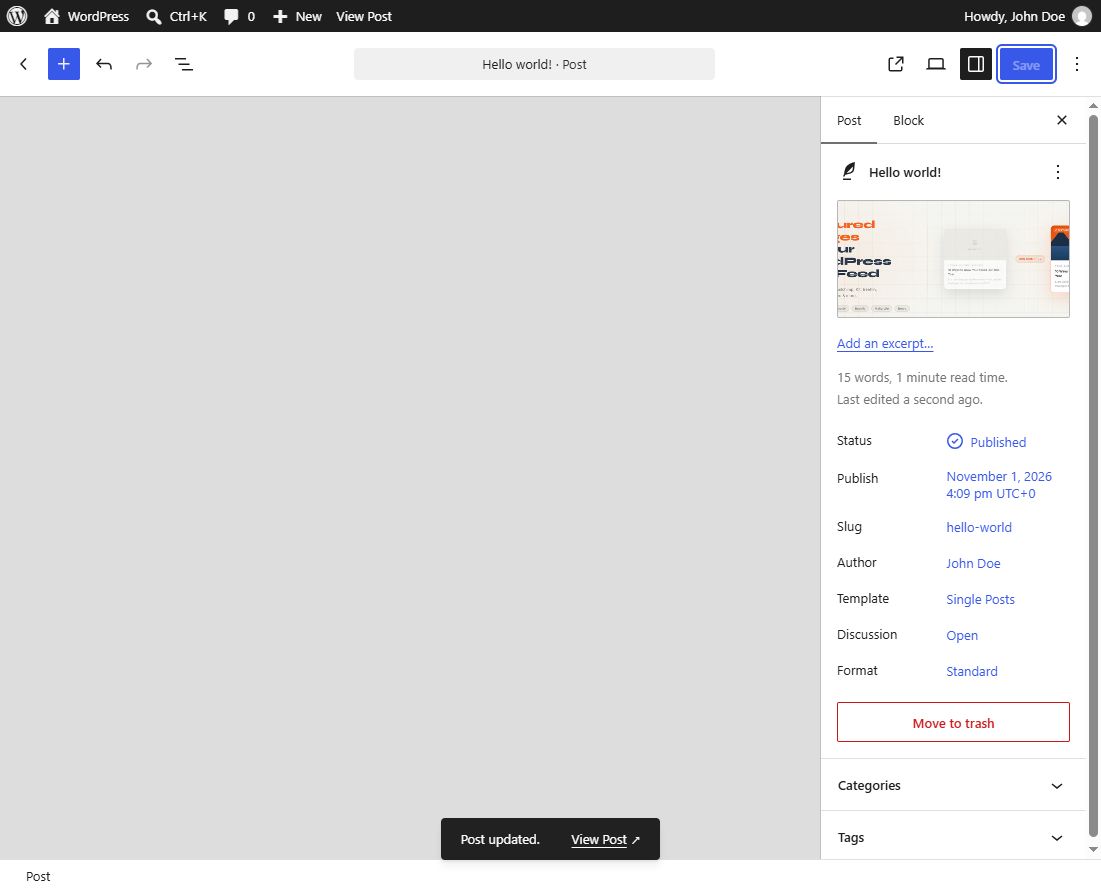
- Open a published post in the WordPress editor.
- Assign an image in its Featured image panel.
- Save or update the post. An image embedded in the post body is not automatically its featured image.
Find your feed URL
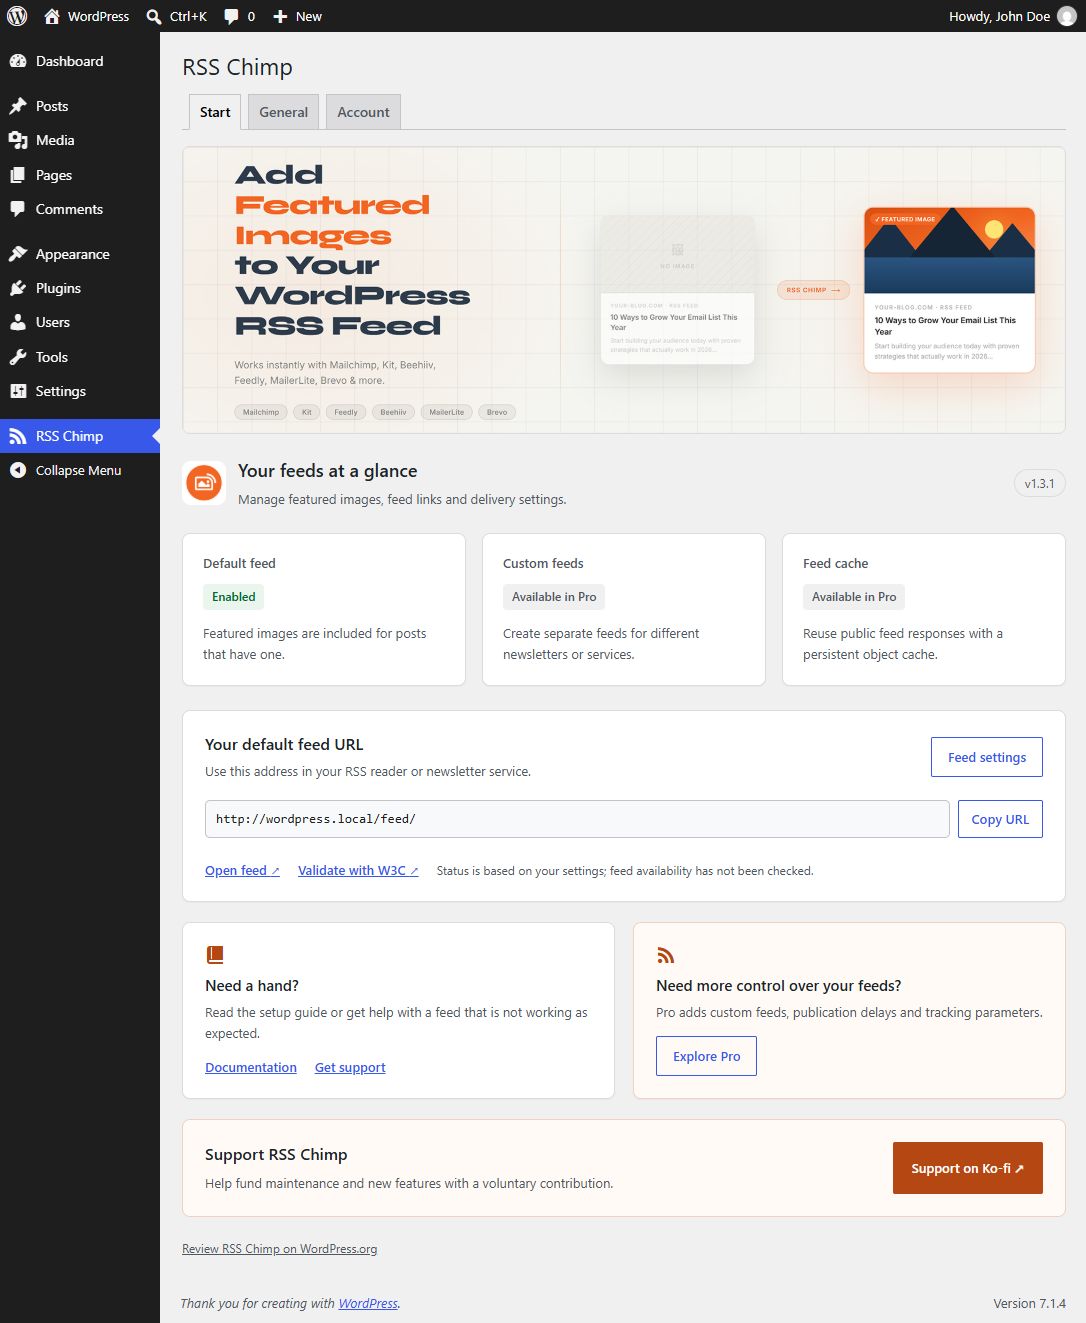
- Open RSS Chimp → Start.
- Find Your default feed URL and click Copy URL or Open feed.
- Use the displayed URL rather than assuming every site uses
/feed/; WordPress can use query-string feed URLs with plain permalinks.
Check the XML
Find the prepared post in the feed source and search within its item for <media:content. Open the image URL to confirm it is accessible. Raw XML is normal; a feed is not expected to look like a regular webpage.
Choose settings and test the receiving service
Open General → Default feed to choose image size and optional enclosure/title/description output. Save changes, then validate a public feed using the dashboard’s W3C link. Finally, preview it in the newsletter service or reader you actually use. That service determines the displayed layout.
Read the dashboard status correctly
The default-feed status reflects the saved configuration, not a live availability test. Pro’s cache card distinguishes an enabled persistent cache from missing backend setup. Pro also lists enabled and disabled custom feeds. If something is wrong, note the feed URL and exact symptom before changing settings.