Install from WordPress backend
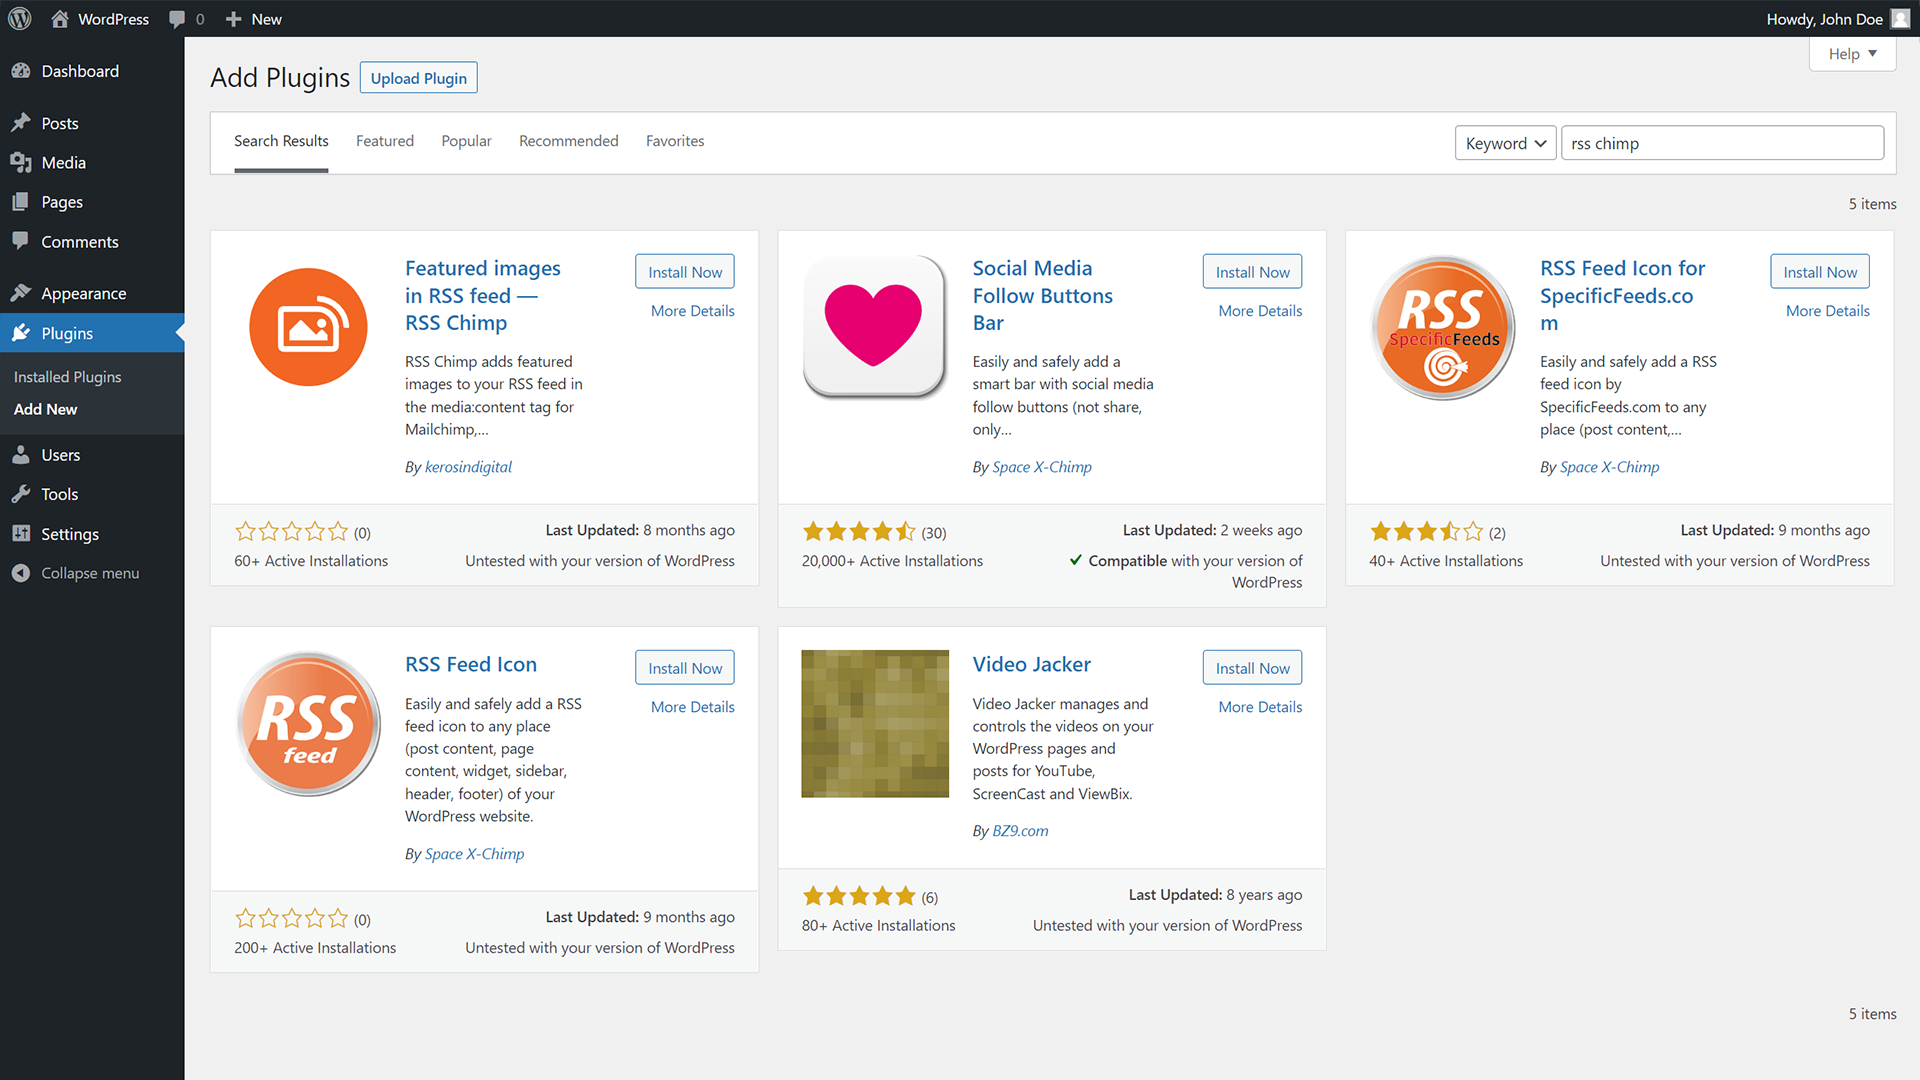
To install RSS Chimp directly from the WordPress backend login to your size and navigate to Plugins > Add New. Next, you need to download the plugin. To do this, search for RSS Chimp using the search box in the upper right corner. RSS Chimp should be first in the search results, click the button Install Now to download the plugin from the WordPress.org plugin repository.
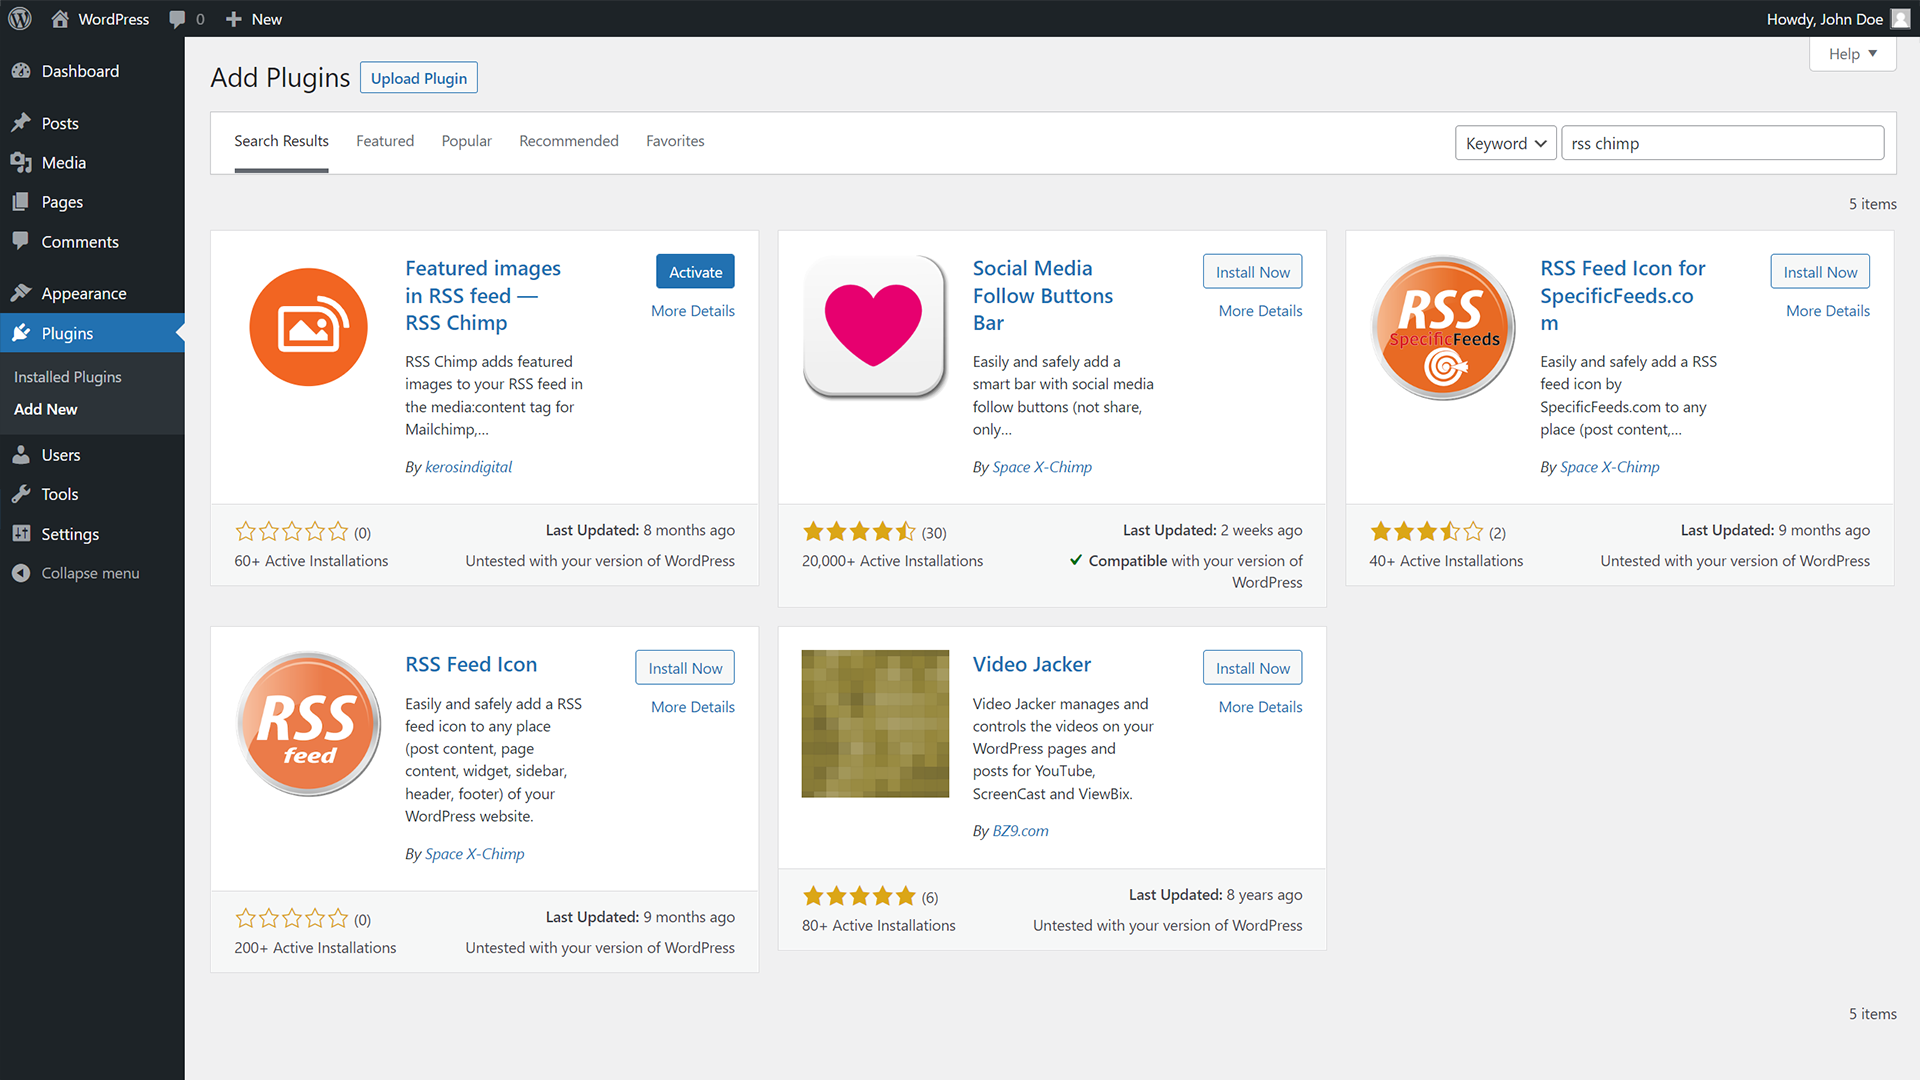
After the download is complete the Install Now button will change to Activate, a click on in will start the activation process.
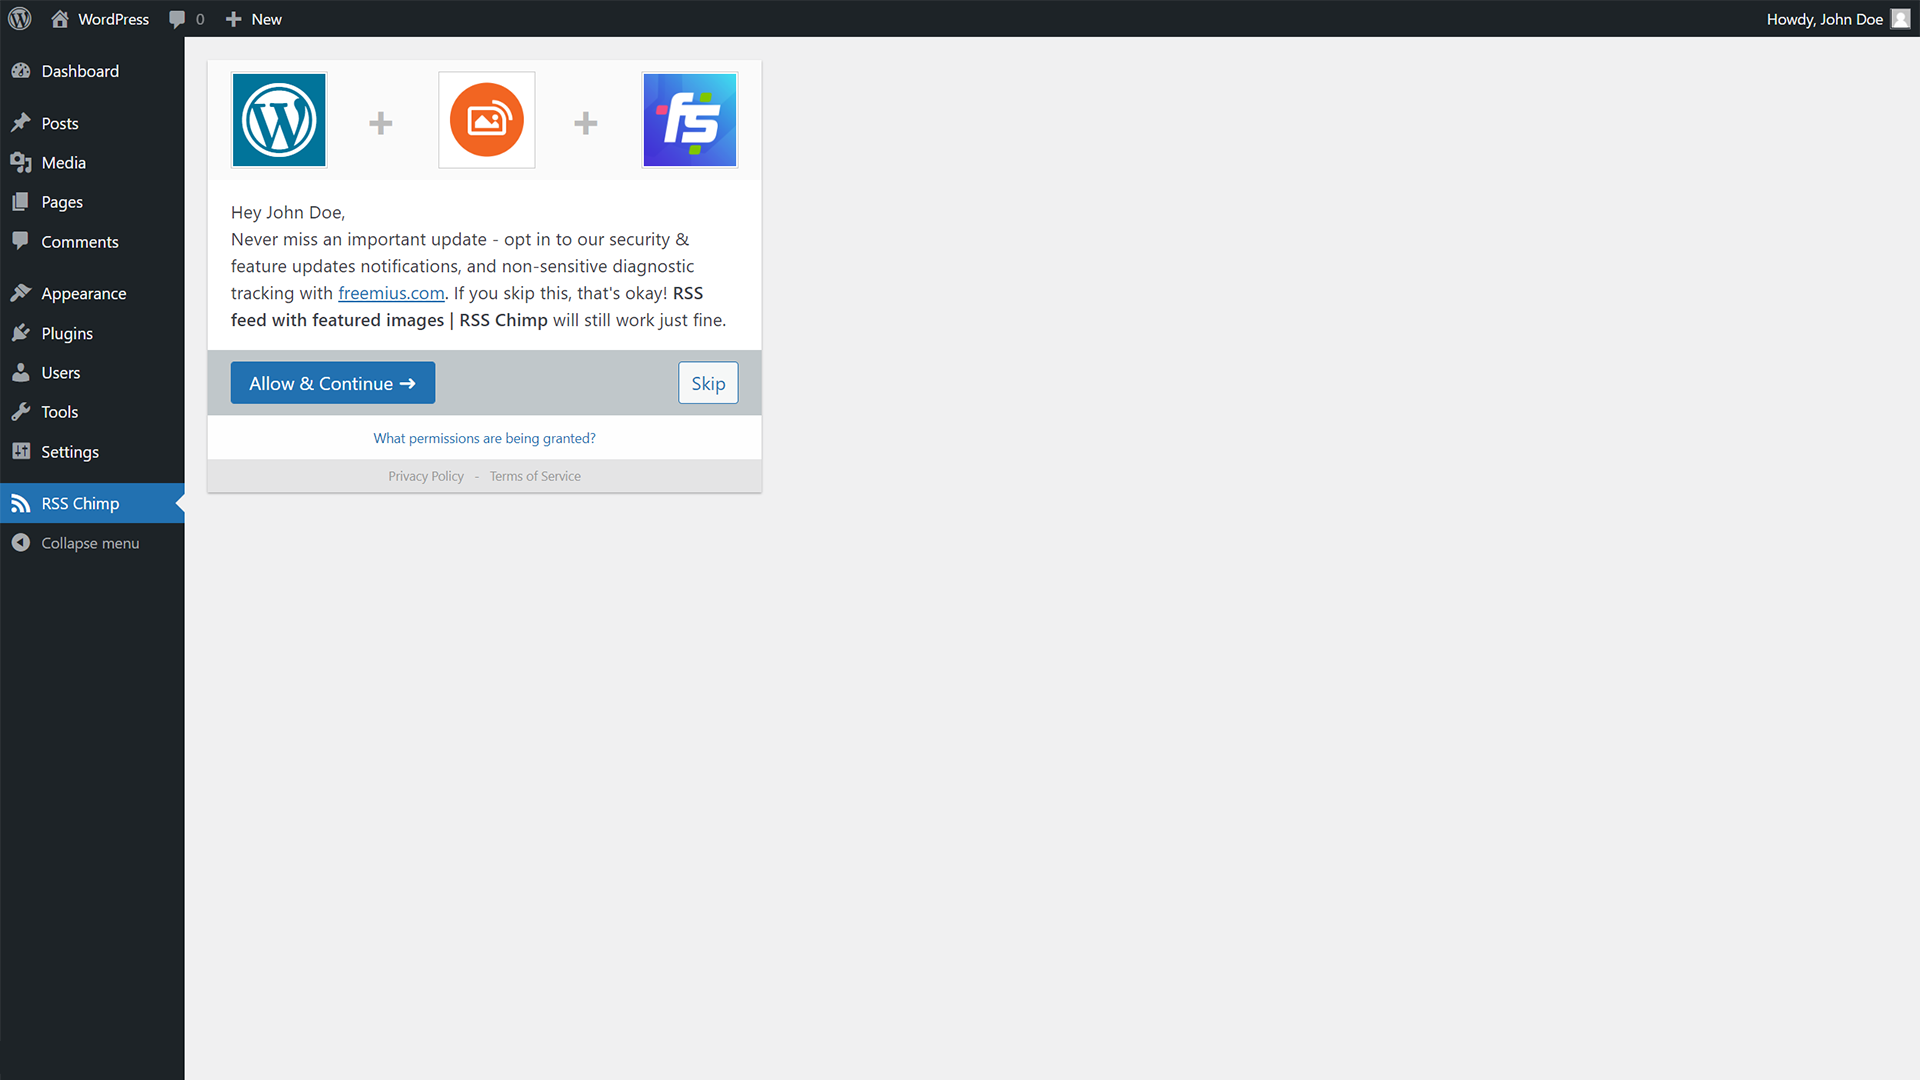
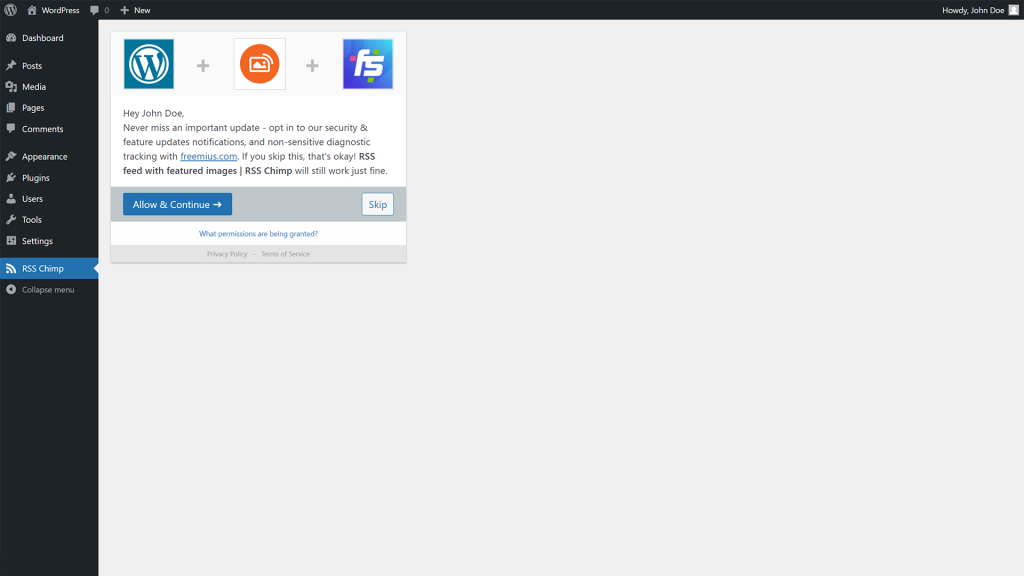
After installing and activating the plugin you are asked if you want to register RSS Chimp Free.
Click Allow & Continue to activate your free licence. This way you also sign up for the newsletter and allow us to collect some nonwith three image sizes unlocked. With the free licence you also sign up for our newsletter, in which you get special offers and tips to use RSS Chimp the best. By registering your licence you also allow the collection of some nn-sensitive diagnostic and statistical data which will help to improve the further development of the plugin.
If you click “Skip” you don’t allow us to inform you about new features and collect data. This way you are also can normally use the plugin as its features are not limted.
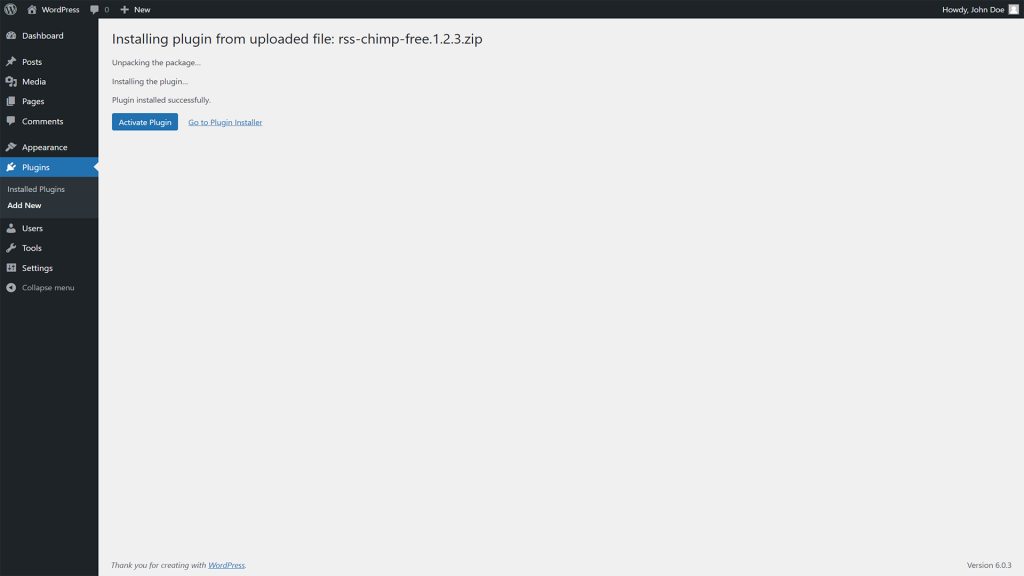
Install manually by uploading the plugin as a zip file
You can also install RSS Chimp on WordPress manually by uploading the plugin as a zip file. The first thing you need to do is download RSS Chimp. You can get the free version from the plugin repository on WordPress.org.
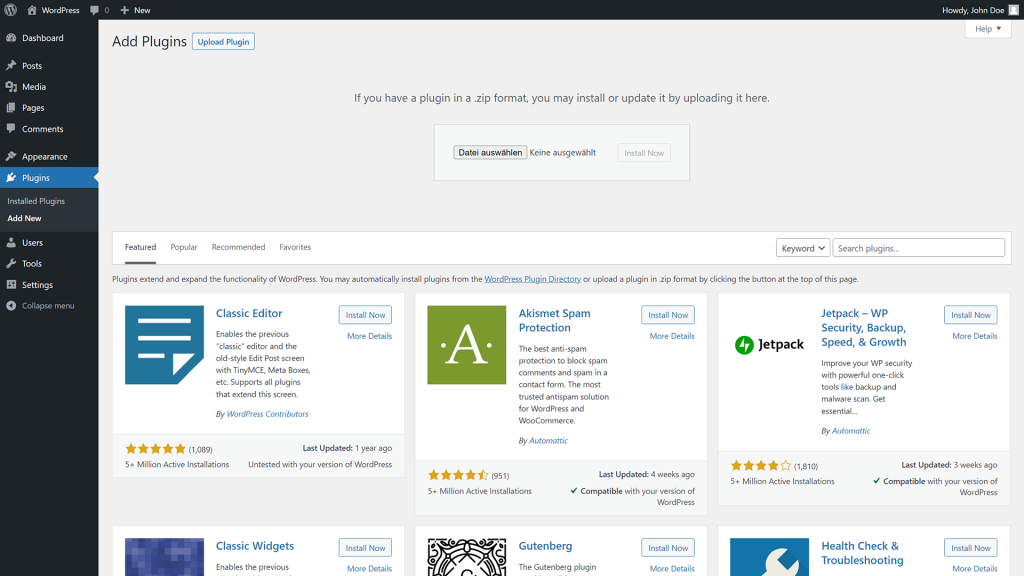
Next, navigate to Plugins > Add New and click on “Upload New” in the upper left corner. Now select the zip file you downloaded before and upload i to your WordPress site.
After RSS Chimp has been successfully uploaded, you need to activate the plugin in the next step. Just click “Activate Plugin”.
After uploading and activating you will be asked in the last step if you want to activate a (free) license for RSS Chimp.
Click Allow & Continue to activate your free licence. This way you also sign up for the newsletter and allow us to collect some nonwith three image sizes unlocked. With the free licence you also sign up for our newsletter, in which you get special offers and tips to use RSS Chimp the best. By registering your licence you also allow the collection of some nn-sensitive diagnostic and statistical data which will help to improve the further development of the plugin.
If you click “Skip” you don’t allow us to inform you about new features and collect data. This way you are also can normally use the plugin as its features are not limted.
Next steps after installing and activating RSS Chimp
After you have installed and activated RSS Chimp your site is ready to go. After activation, RSS Chimp will immediately add the featured images to your RSS feed. Check your feed, mostly it is acessible with http://example.com/feed on WordPress sites. After the activation process you should find something similiar in the <item> tag of the correspondending post:
<media:content url="http://example.com/wp-content/uploads/mypicture-150x150.png" medium="image" type="image/jpg" />The featured image is missing? Go to Settings > Permalinks in the backend and just click “Save Changes”. If the featured is still missing please check your caching plugins and rebuild the cache.
RSS Chimp offers a whole range of settings to improve your feed and make it ready to take off with marketing automations.
Configuration
- How to change the size of featured images in the RSS feed?
- How to include the title and description of featured images in the feed?
- How to set the logo of your feed and provide additional channel information
- How to delay the publication of posts in the feed?
- How to hide the WordPress version from all RSS feeds with RSS Chimp Pro?